Setup Heroku app on naked domain with SSL using DNS registrar not supporting ALIAS record via Cloudflare
Intro
Apps hosted on Heroku does not have static IP addresses assigned to them so it is impossible to simply setup A type DNS record (it requires IP). Most DNS registrars does not allow setting CNAME (also called ALIAS) to root domain (also called naked domain). Cloudflare allows such setting using, as they call it, CNAME flattening. Another features of Cloudflare are protection against various attacks and caching.
To combine above knowledge we can setup Cloudflare and point our preferred DNS registrar to Cloudflare nameservers. This way we will have naked domain, with added benefits of Cloudflare’s features.
At the end of this guide our page will be hosted under https://petstore.com, all below addresses will lead to it:
- http://petstore.com
- https://www.petstore.com
- http://www.petstore.com
Connection will be secured with SSL.
Perquisites
- Deployed app on Heroku (most likely reachable with petstore.herokuapp.com)
- Access to petstore.com DNS
- Access to cloudflare.com account (free account will do)
Step 1 - Add domain on Heroku
- Go to Heroku dashboard > petstore app > Settings
- Find
Domainspanel and clickAdd domain - Enter
petstore.comasDomain name - Notice
DNS Target, we will need it in next steps, keep tab open we will get back here soon.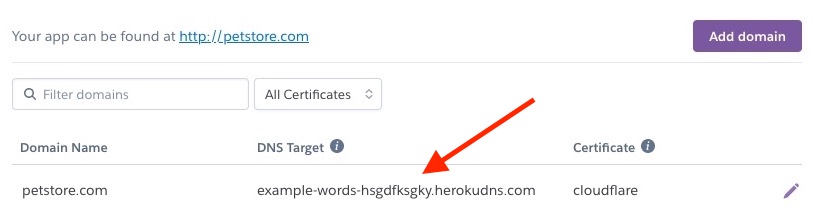
Step 2 - Add page in cloudflare
- Go to cloudflare.com
- Click on
Add a site - Enter
petstore.com - Add
CNAMErecordname = @,target = DNS Target (from Heroku),proxyturned on - Add
CNAMErecordname = www,target = petstore.com,proxyturned on
- Notice
Cloudflare Nameserversbelow, we will need them later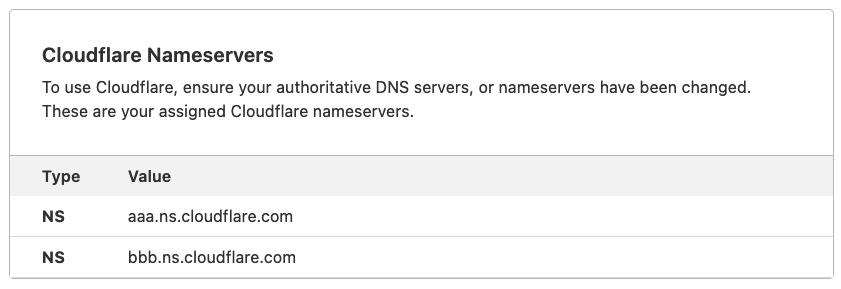
Step 3 - Add redirect from www to naked domain
- Go to
Rulespanel - Click on
Create Page Rule - For URL use
www.petstore.com/* - Setting
Forwarding URLwithstatus code = 301 - Destination
https://petstore.com/$1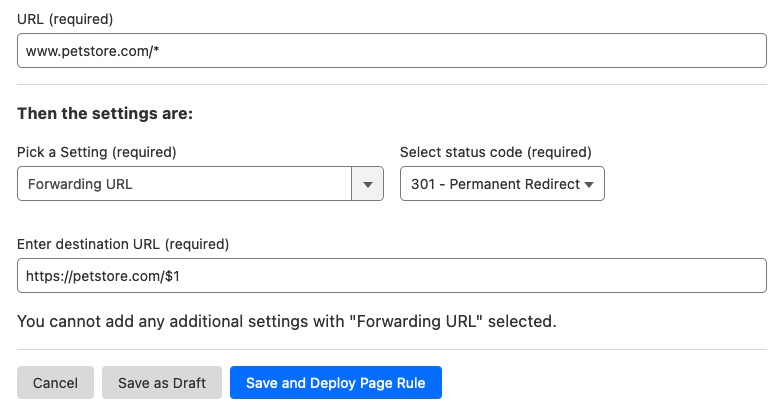
- Click
Save and deploy
This way www.petstore.com/cats forwards to https://petstore.com/cats instead of https://petstore.com/
Step 4 - Setup SSL certificate
- Go to
SSL/TLSpanel - In
Overviewtab pick encryption modeFull (strict)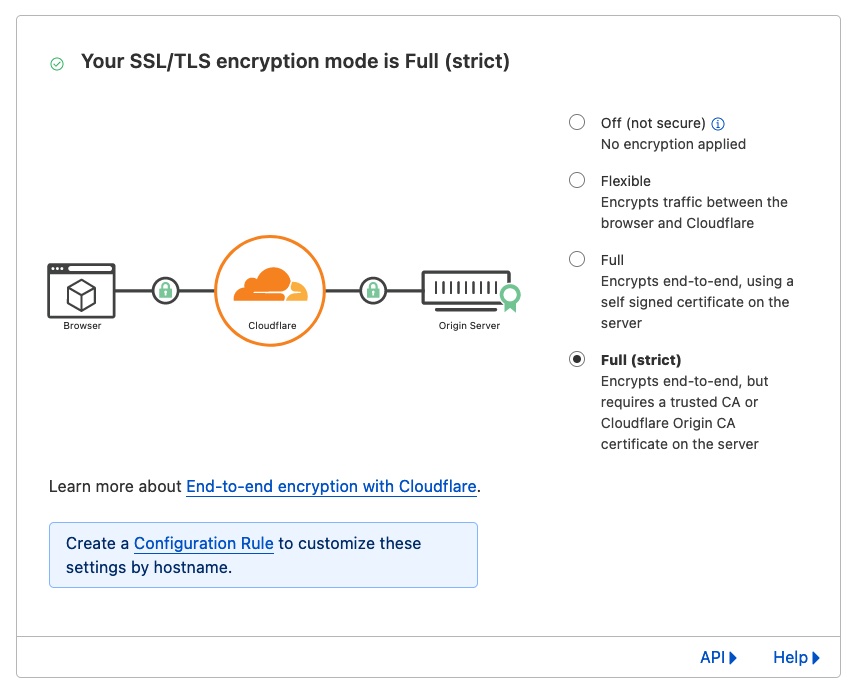
- In
Edge Certificatestab turn onAlways Use HTTPS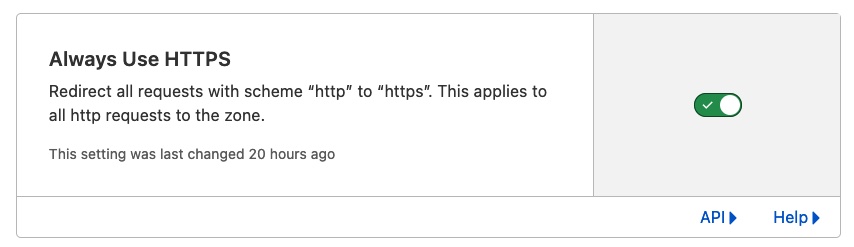
- In
Origin Servertab clickCreate Certificate, in hostnames list put two entries:petstore.comand*.petstore.com
- Notice keys displayed there, keep the tab open
- Go back to Heroku tab
- Click on
Add certificate - Set display, for example
cloudflare - From cloudflare tab copy
public certificateandprivate certificateto respective fields - Save certificate
- If there were any certificates generated by heroku, remove them

- Under
Domainseditpetstore.comand select cloudflare certificate
Step 5 - Change nameservers with DNS registrar
Instructions will differ between all DNS registrars. For this example we will use GoDaddy.com.
- Go to
godaddy.com - Open
petstore.comsettings - In
DNStab openname servers - Use nameservers from step 1
HARDEST PART
Wait until changes take place, it can take up to 48 hours (usually it’s about an hour)
Sources
- https://medium.com/@conwayling/cloudflare-heroku-setup-redirect-naked-to-subdomain-aa56450e422c
- https://gist.github.com/mrispoli24/043684c7af2c5b5ac3b71cd46ac60972
That's it for this post, thanks for reading!